NOTE: If you have a OEM Windows 7 instead of a retail Windows 7, then you may need to use OPTION TWO below to create a System Repair Disc with instead.1. Open the Start Menu.
A) In the search line, type recdisc.exe and press Enter. (See screenshot below)ORB) Go to step 3.
2. Open the Control Panel (All Items view), and click on the Backup and Restore icon.
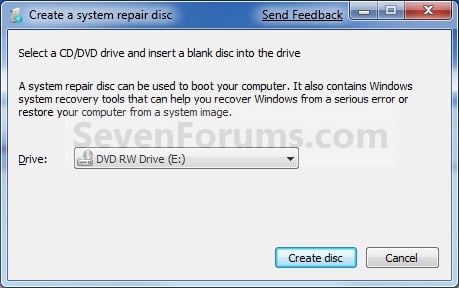
A) Click on the Create a System recovery disc link in the left blue pane. (See screenshot below)3. Insert a blank CD or DVD into your CD/DVD drive and click on the Create disc button. (See screenshot below)
NOTE: If you are prompted to insert a Windows installation disc, it means that the files needed to create the system repair disc cannot be found on your computer. Insert a Windows 7 installation disc.
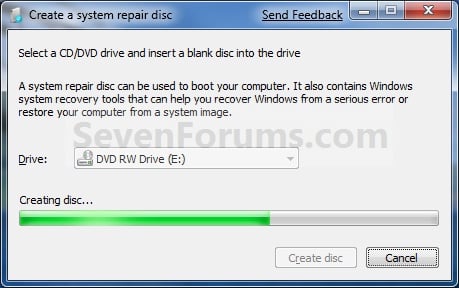
4. It will now start creating the System Repair Disc. (See screenshot below)
NOTE: If a AutoPlay window pops up, just close it.
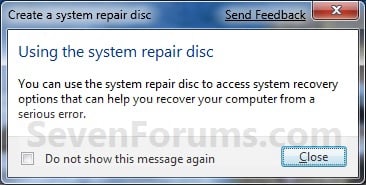
5. When it's finished, click on the Close button. (See screenshot below)
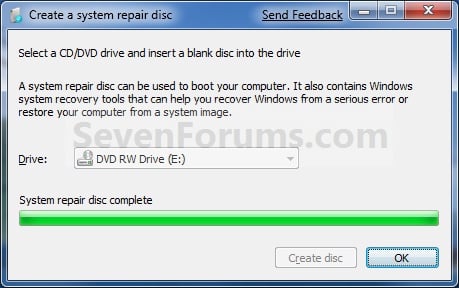
6. Click on OK. (See screenshot below)
7. Remove and label your new Windows 7 System Repair Disc from the CD/DVD drive.


 300Ribu Dapat Website

0 komentar:
Posting Komentar